

There is something uniquely satisfying about making your own coconut jelly from scratch, especially if you’re a bubble tea lover.
The silky texture and sweet, tropical flavor of coconut jelly make it a delightful addition to any beverage.
I first encountered this treat on a balmy summer day in Taiwan, where bubble tea is a staple.
The refreshing taste of coconut jelly perfectly complements the rich, creamy tea, offering a harmonious blend of flavors.
Whether you’re a seasoned bubble tea enthusiast or a curious newcomer, this homemade coconut jelly will elevate your drink experience.
Let’s dive into the world of coconut jelly and discover how you can recreate this delicious treat at home.
The History and Cultural Significance
• Coconut Jelly Recipe traces its origins to Southeast Asia, where it was originally created by local cooks using fresh coconut milk and agar agar.
• The dish evolved over decades as the availability of ingredients expanded, eventually becoming the beloved version we know today.
• In Taiwanese culture, this dish traditionally appears at summer festivals, symbolizing refreshment and celebration.
• While many variations exist across different regions, the authentic version maintains a silky texture and subtle sweetness that sets it apart from imitations.


Recipe Overview
Nutritional Information (per serving)


Essential Equipment Guide
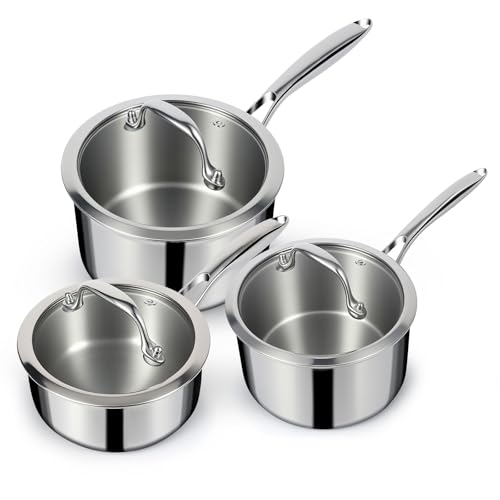
Saucepan: A medium-sized saucepan is crucial for evenly heating the coconut mixture to avoid burning. A non-stick option works well, and alternatives include any pot with a thick bottom to distribute heat evenly.
Whisk: A whisk is essential for thoroughly mixing the coconut milk and agar agar, ensuring a smooth texture. A fork or spoon can be used as an alternative but may not achieve the same consistency.
Mold or Baking Dish: Use a shallow, flat mold or baking dish to allow for even setting of the jelly. Silicone molds are easy to use and remove the jelly from, but any flat container will work.
Ingredients
For the Jelly Base
|
|
| Amount | Ingredient | Notes |
|---|---|---|
| 2 cups | coconut milk | provides rich flavor |
| 1/2 cup | sugar | sweetens the mixture |
| 2 tablespoons | agar agar powder | acts as a gelling agent |

Preparation Methods
Blooming Agar Agar: Blooming agar agar involves dissolving the powder in a liquid before heating. This ensures it is fully integrated and activates its gelling properties. To master this, stir the agar agar into the coconut milk thoroughly before applying heat.
Simmering: Simmering is crucial for activating the agar agar. Heat the mixture gently until it reaches a simmer, which allows the agar agar to work effectively without boiling off the liquid. Maintain a consistent heat level for best results.
Chilling and Setting: Properly chilling the jelly ensures a firm yet soft texture. Pour the mixture into the mold and let it cool to room temperature before refrigerating for at least two hours. This time allows the jelly to fully set and achieve the desired consistency.
Step 1: Prepare Ingredients

Gather all ingredients and equipment.
Measure out coconut milk, sugar, and agar agar powder.
Ensure the saucepan is clean and dry.
Set aside a mold or flat baking dish for the jelly.


Step 2: Bloom Agar Agar
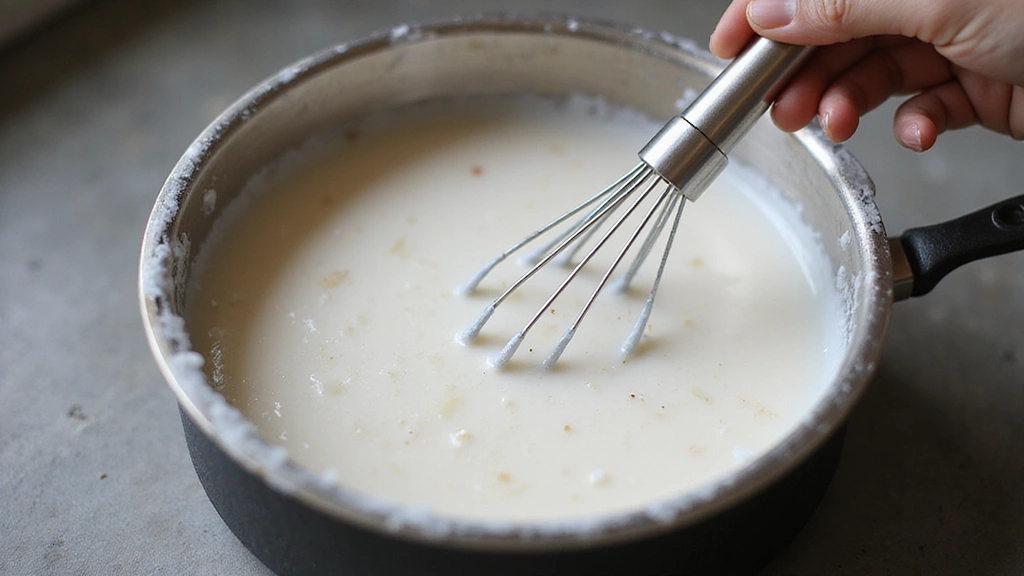
In a medium saucepan, combine coconut milk and agar agar powder.
Stir the mixture thoroughly with a whisk to ensure even distribution.
Let the mixture sit for 5 minutes to bloom the agar agar.
This helps activate the gelling properties.

Step 3: Heat the Mixture

Place the saucepan over medium heat.
Add sugar and stir until dissolved.
Continue to stir occasionally to prevent clumping.
Bring the mixture to a gentle simmer and maintain it for 5 minutes.
Step 4: Pour the Mixture

Remove the saucepan from heat after simmering.
Carefully pour the hot mixture into the prepared mold.
Ensure an even layer for uniform jelly cubes.
Let it cool at room temperature for 20 minutes.

Step 5: Chill the Jelly

Once cooled, transfer the mold to the refrigerator.
Chill for at least 2 hours until fully set.
The jelly should be firm to the touch.
This step is crucial for achieving the right texture.
Step 6: Cut the Jelly
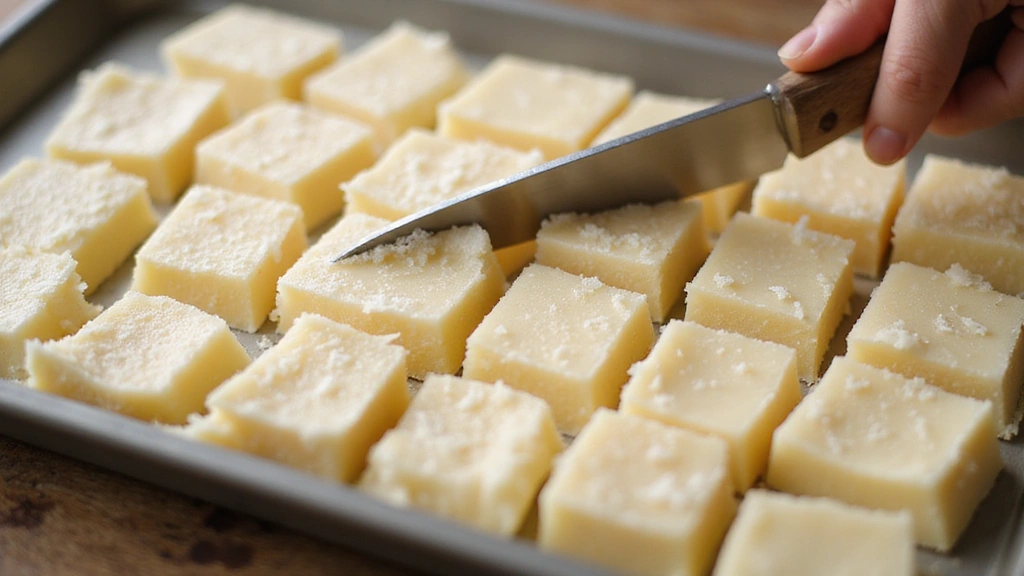
Remove the set jelly from the refrigerator.
Use a sharp knife to cut the jelly into small cubes.
Ensure even cuts for uniform size.
This makes it easy to serve with bubble tea.
Step 7: Serve with Bubble Tea

Prepare your favorite bubble tea.
Add the coconut jelly cubes to the tea.
Stir gently to combine the flavors.
Serve chilled for a refreshing experience.

Step 8: Store Remaining Jelly

Place leftover jelly cubes in an airtight container.
Store in the refrigerator for up to 3 days.
Ensure the container is sealed to maintain freshness.
This allows you to enjoy the jelly over multiple servings.
Critical Timing and Temperature Guide
Simmering the Mixture: Simmer the coconut milk and agar agar for exactly 5 minutes at medium heat. Look for small bubbles and avoid boiling. Overheating can cause the milk to curdle.
Cooling the Mixture: Allow the mixture to cool at room temperature for 20 minutes before refrigerating. Ensure it is not disturbed during this time to prevent uneven setting.
Chilling the Jelly: Refrigerate the jelly for at least 2 hours. The jelly should be firm but not hard. Avoid opening the fridge frequently to maintain a consistent temperature.
Pro Tips for Coconut Jelly Recipe
• Ingredient Selection: Choose high-quality coconut milk for the richest flavor. Freshly canned coconut milk gives the best results.
• Preparation Secret: Dissolve sugar completely before the mixture simmers to enhance sweetness evenly.
• Temperature Management: Maintain a gentle simmer without boiling to prevent the jelly from becoming grainy.
• Texture Enhancement: Stir the mixture continuously while simmering to ensure a smooth, silky texture.
• Flavor Layering: Add a pinch of salt to balance the sweetness and enhance the coconut flavor.
• Make-Ahead Strategies: Prepare the jelly a day ahead and store in the fridge, ensuring it stays covered to prevent drying out.
• Restaurant-Quality Finishing Touches: Garnish the jelly with fresh mint leaves or a splash of coconut cream for an elevated presentation.
• Equipment Optimization: Use a silicone mold for easy removal and perfect cube shapes.
Troubleshooting Common Issues
• Jelly Too Soft: Insufficient agar agar or incorrect chilling time can cause softness. Reheat and add more agar agar, then reset.
• Jelly Too Firm: Excess agar agar leads to a hard texture. Reduce agar agar in future batches for a softer consistency.
• Uneven Texture: Stirring inconsistently during simmering can lead to lumps. Ensure constant stirring to achieve smoothness.
• Flavors Unbalanced: Too much sugar or coconut milk can overpower the taste. Adjust quantities and add a pinch of salt to balance.
• Jelly Not Setting: Improper blooming of agar agar can prevent setting. Ensure thorough mixing and blooming before heating.
Variations and Regional Differences
• Thai Style: This variation incorporates pandan extract for a green hue and aromatic flavor, differing from the plain coconut version.
• Vietnamese Che Banh Lot: Uses mung bean paste and coconut milk for a layered dessert, adding a different texture and taste.
• Filipino Buko Pandan: Combines young coconut strips and pandan jelly, offering a chewy and fragrant twist.
• Japanese Kanten Jelly: Uses kanten (Japanese agar) and typically incorporates fruit pieces, offering a lighter and fruitier jelly.
Food Science Behind the Recipe
• Agar Agar Gelation: Agar agar is a polysaccharide that forms a gel when heated and cooled, providing the jelly structure. Understanding this helps in achieving the desired firmness.
• Emulsification of Coconut Milk: The fat in coconut milk creates a creamy texture. Proper emulsification during simmering ensures a smooth consistency.
• Heat Transfer: Even heating prevents scorching and curdling. Mastery of heat transfer ensures a consistent texture throughout the jelly.
Frequently Asked Questions
What's the most common mistake people make when preparing coconut jelly? The most common mistake is not properly blooming the agar agar, leading to a jelly that doesn't set correctly.
Can I substitute agar agar with gelatin? Agar agar is plant-based and sets differently than gelatin, which is animal-based. Substituting may alter texture and firmness.
How do I prevent the jelly from becoming grainy? Ensure continuous stirring during simmering and avoid overheating to maintain a smooth texture.
What's the best way to store coconut jelly? Store in an airtight container in the refrigerator for up to three days to maintain freshness.
Can I use low-fat coconut milk? Low-fat coconut milk will result in a less creamy texture. Full-fat coconut milk is recommended for best results.
How can I add more flavor to the jelly? Consider adding vanilla extract or pandan essence for additional flavors.
Is it possible to make the jelly less sweet? Yes, reduce the amount of sugar or use a sugar substitute to adjust the sweetness to your preference.


Serving and Presentation Guide
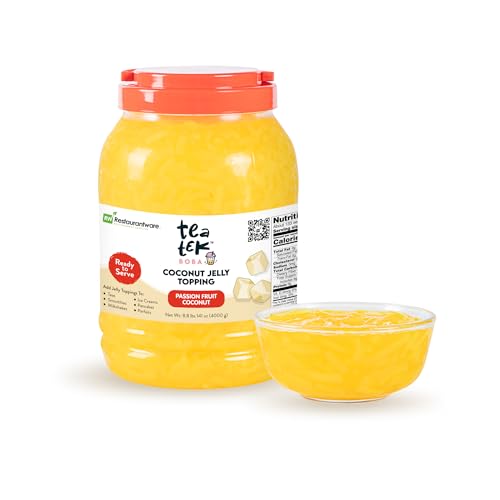
• Traditional Presentation: Serve coconut jelly cubes in a glass of chilled bubble tea for an authentic experience.
• Layered Dessert: Use the jelly as a base layer in a dessert cup, topped with fresh fruit and whipped cream.
• Party Skewers: Thread jelly cubes onto skewers with fresh fruit for a fun party snack.
• Elegant Plating: Arrange jelly cubes on a dessert plate with a drizzle of coconut cream and mint leaves for a restaurant-quality presentation.

Conclusion
Creating homemade coconut jelly for your bubble tea is a rewarding experience that brings a taste of the tropics to your kitchen.
With its silky texture and delightful flavor, this recipe is sure to become a favorite.
Don't hesitate to experiment with different flavors and presentations to make it your own.
Embrace the joy of making this refreshing treat and impress your friends and family with your culinary skills.